Paper Plate Fall Flowers
Submitted By A Viewer
- Leaf Template (printable version)
- Paper Plate
- Crayons, Markers or Water Colors
- Glue or Glue Gun
- Long Unbendable Straw
- Tape
- Scissors
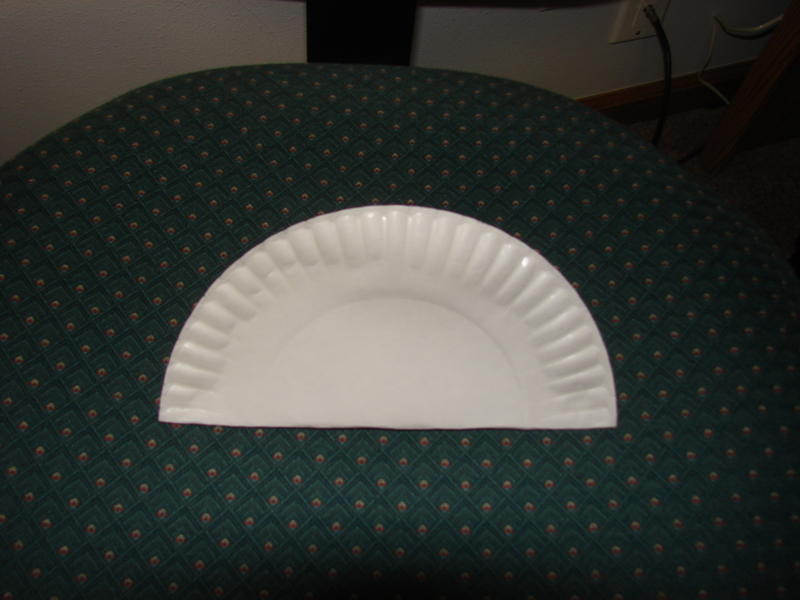
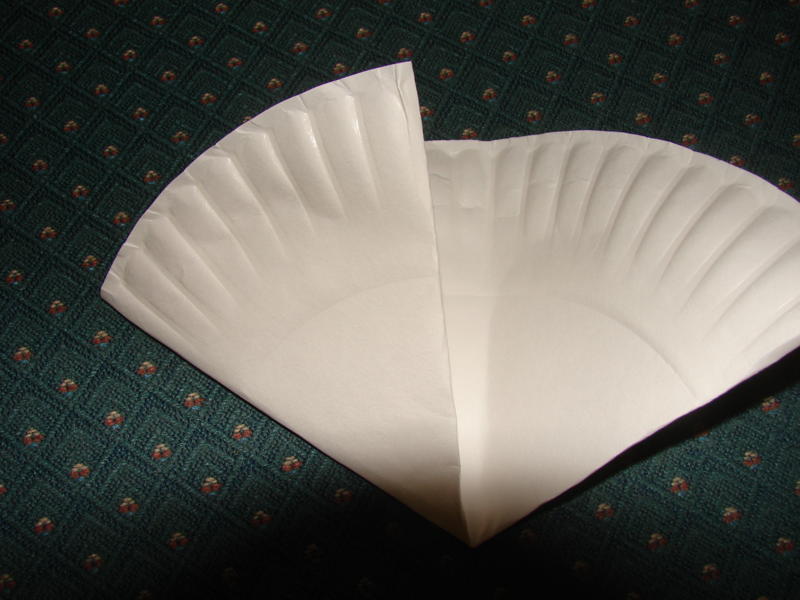
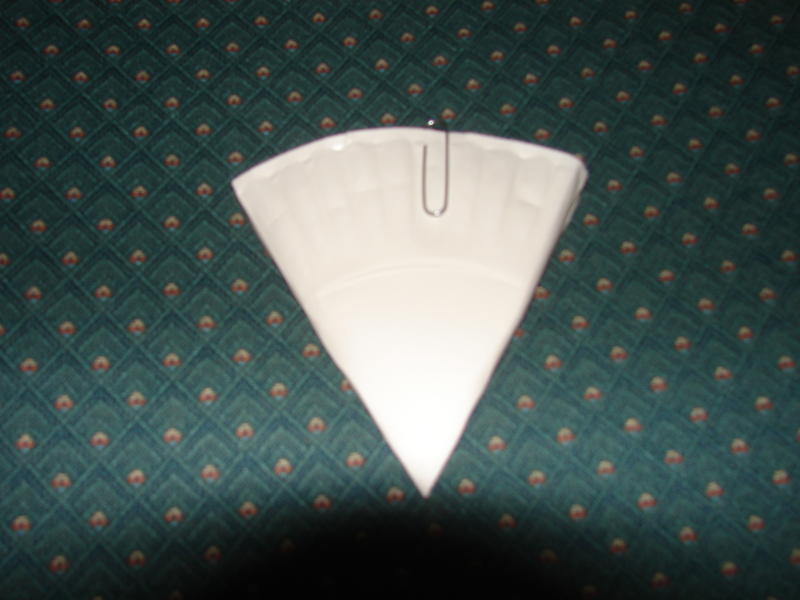
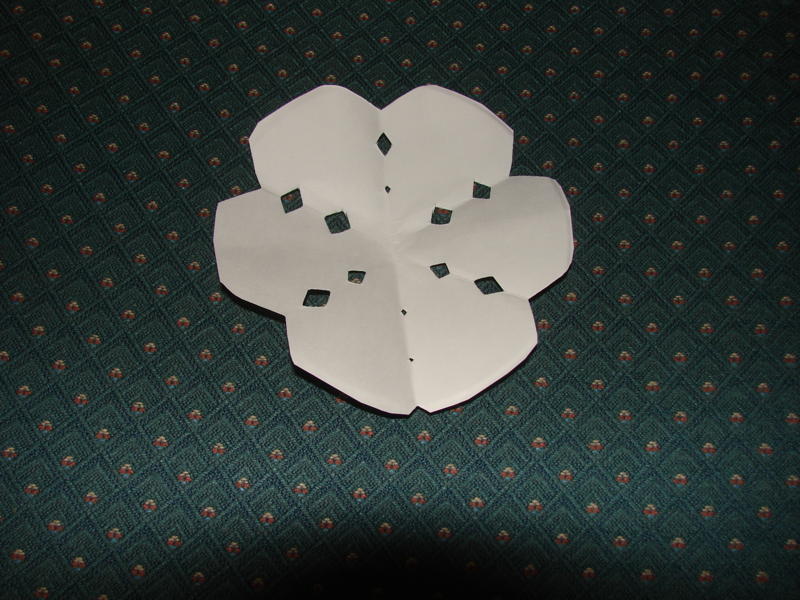
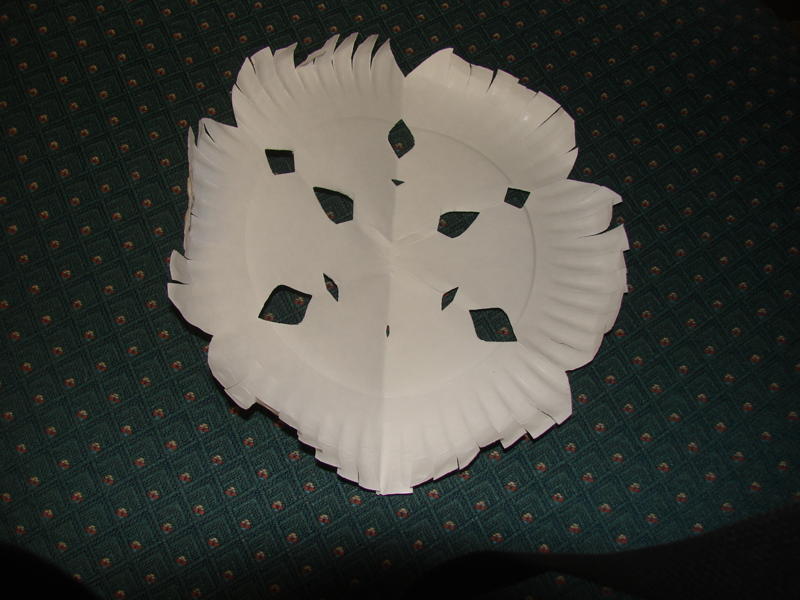
Use crayons, water colors, or markers to color around the rim of a paper plate. Fold the plate in half. Fold the left edge a third of the way toward the other side. Fold the right side over to meet the left edge. It will look like a cone. Round off the edges a little to make flower petals. Cut down the grooves in the top edge to make a fringe. Cut designs out along the sides. Unfold the paper plate. Wrap the fringes on the edge around a pencil to cause them to curl inward.
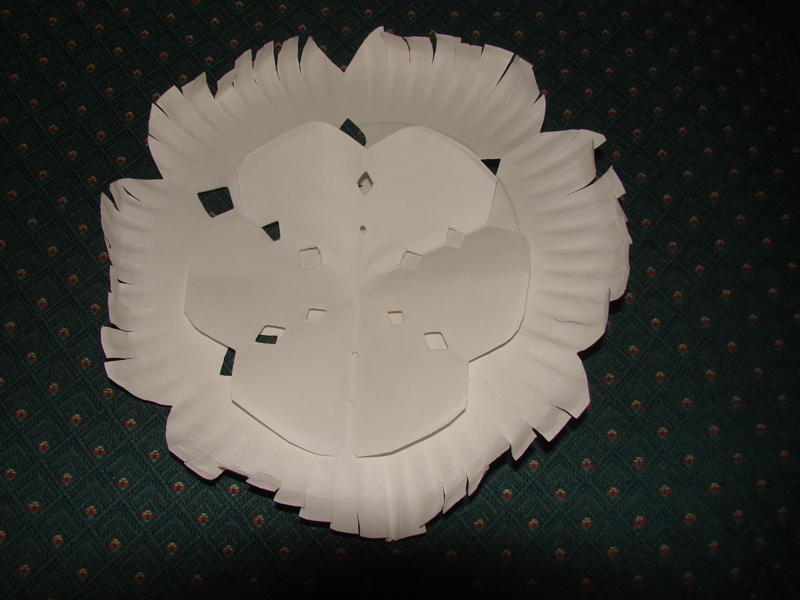
To make the second layer, cut off the outer ring of the paper plate to make a smaller circle. Repeat the process. Glue the two layers together. You may need to hold the pieces together for a minute to let the glue set. A glue gun also works.
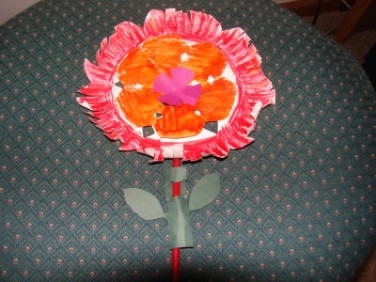
For the third layer, cut a smaller circle in a contrasting color from construction paper or scrapes of the paper plate. Make a fringed design. Glue this in the center of the second layer.
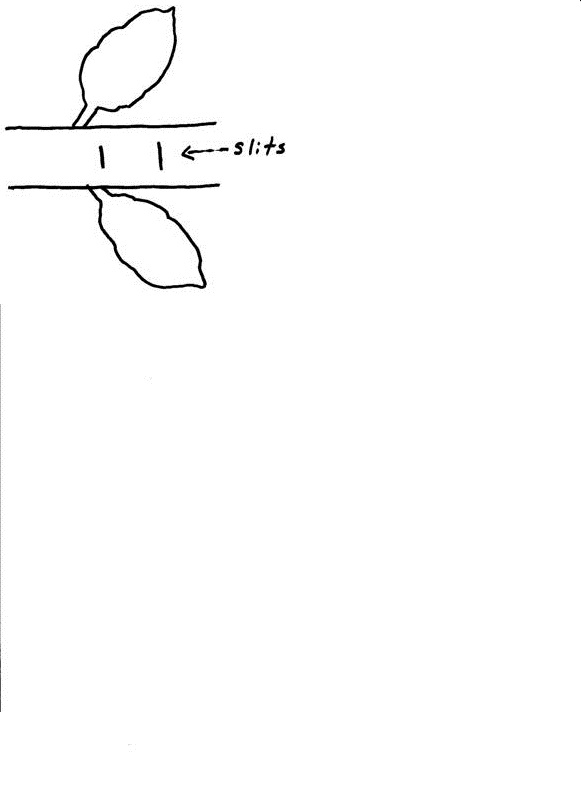
Tape a long, unbendable straw to the back of the large layer. Use the template to cut out the leaves that cover the straw. Cut the slits carefully. You will need to flatten the end of the straw when you slip it into the slits to keep the construction paper from splitting. Reinforcing the back with tape before cutting the slits is helpful.